2.8. ARM-2D based GUI simulation project
2.8.1. Preface
good news! The Arm2D module and simulation project of pikascript are preliminarily sorted out! pikaScript, ARM-2D, rt-thread work together, unlock new poses for python to play Arm2D! No hardware is needed, and it can be simulated directly, which is very convenient.
It is also very simple to deploy and run this simulation project on your own computer, just follow the steps below~
2.8.2. Get the simulation project
Go to the PikaPython official website: http://pikascript.com, then select sumulation-rtt-qemu-arm2d for the platform, and then click Start to generate the project.
2.8.3. Install the development environment
After you have the project, you also need to install the development environment. There are only two things that need to be installed. One is rt-thread studio, which is used as an IDE. rt-thread studio integrates qemu, which is very convenient for simulating mcu and gui. The other is the latest arm gcc toolchain.
2.8.3.1. rt-thread studio installation package link
2.8.3.2. arm gcc installation package link
You can install rt-thread studio where you like, arm gcc should be installed on the default c drive.
Once installed, you can start playing arm-2d with python.
2.8.4. run
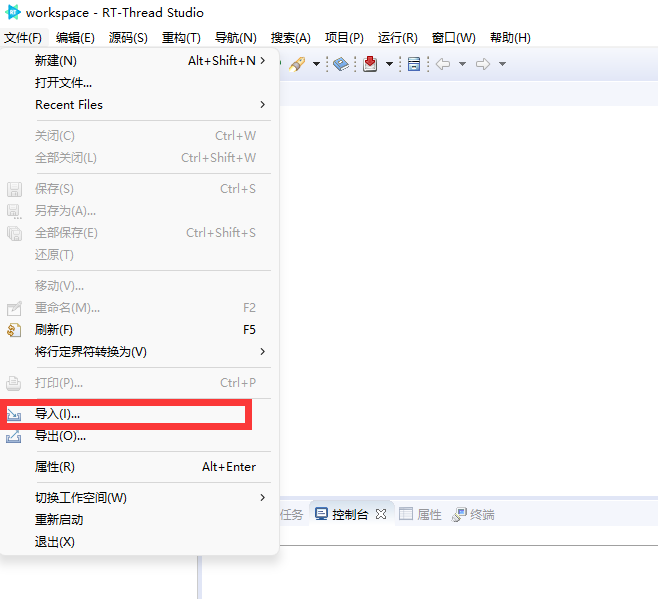
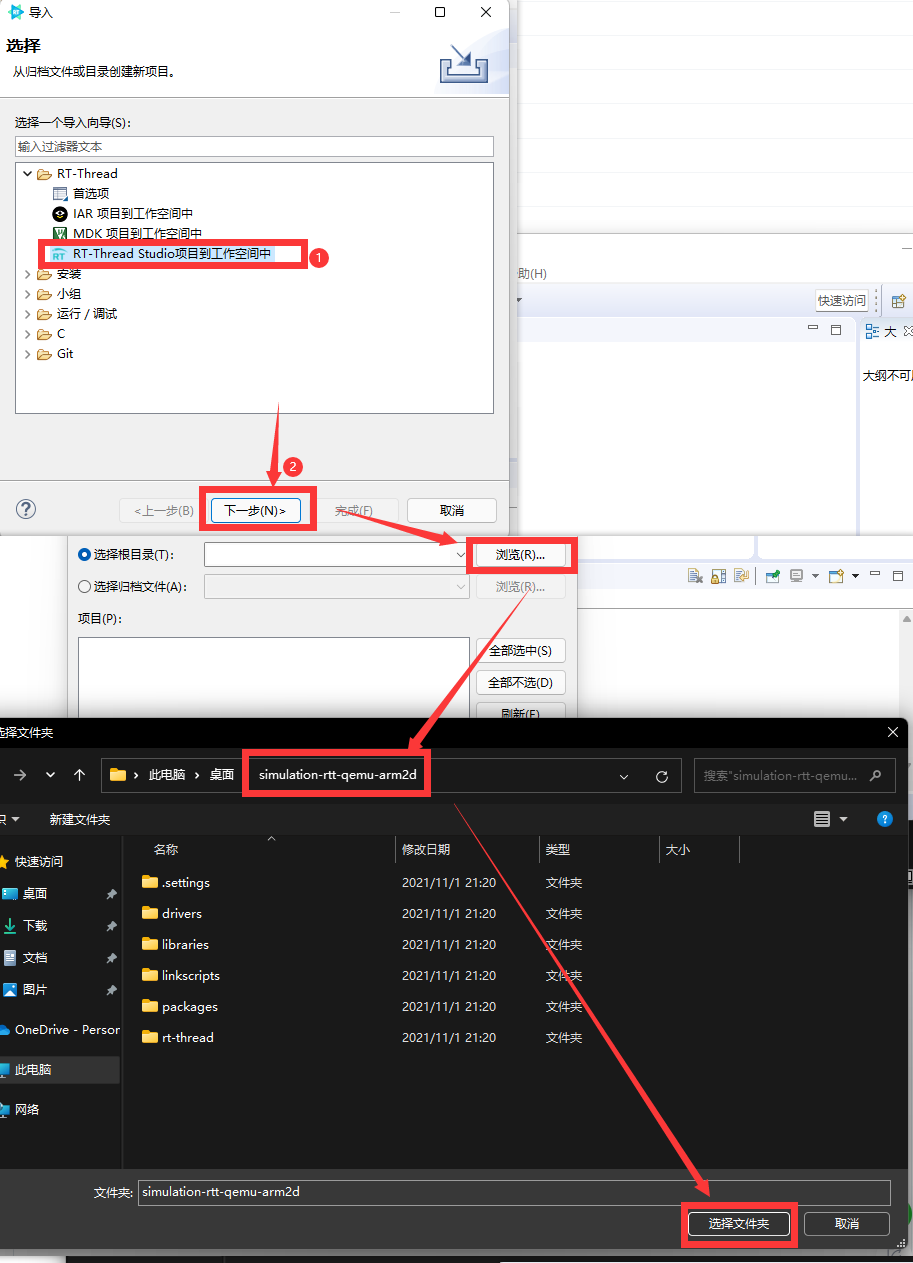
We open RT-Thread Studio and click Import
Then select the simulation-rtt-qemu-arm2d folder
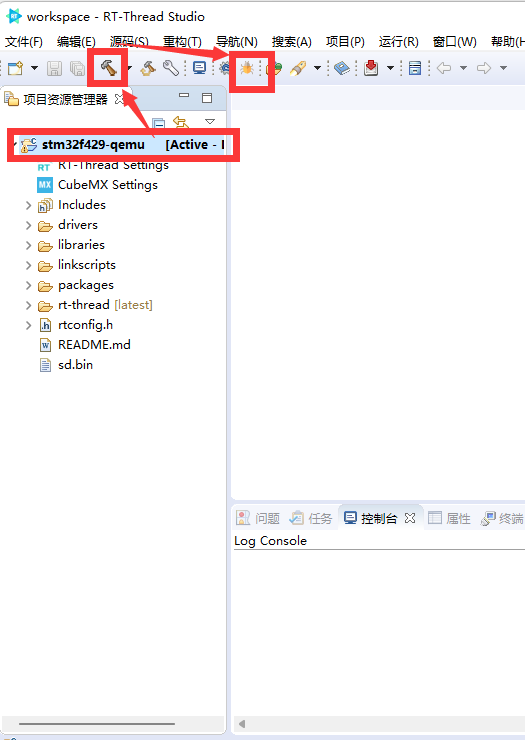
Select the project, then click the hammer to compile, and then click the bug to enter the simulation
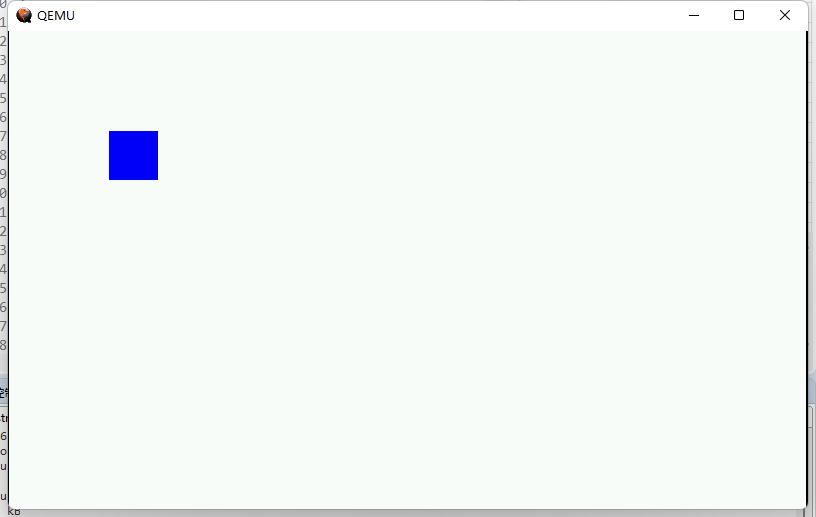
A QEMU box will pop up, then click Run.
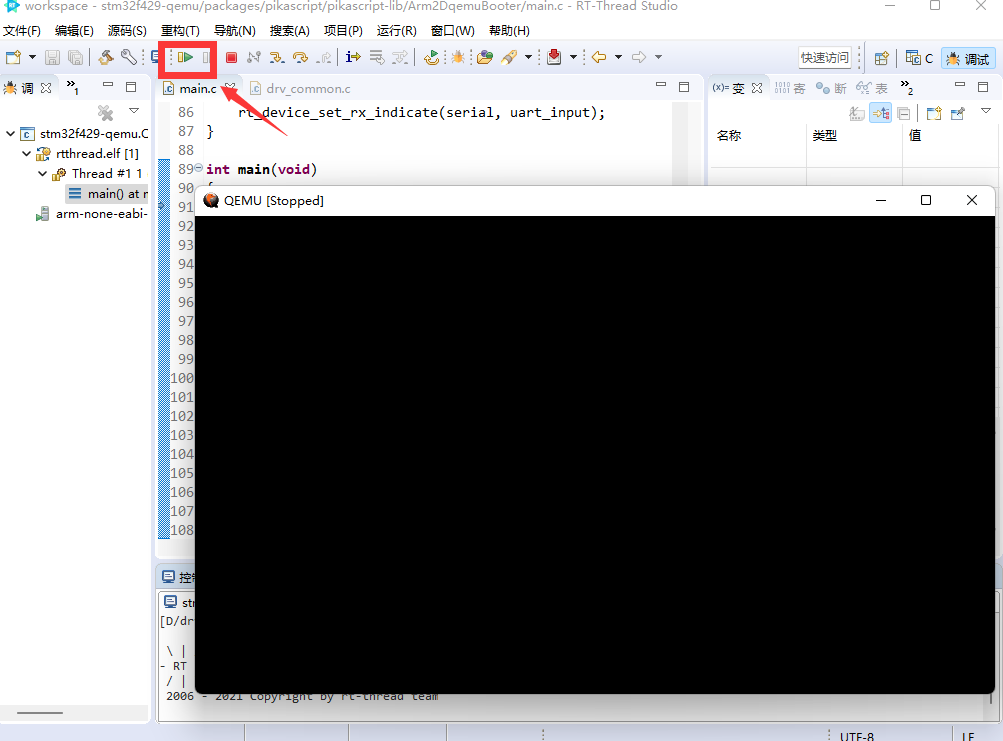
If the operation is successful, you can see a small blue square on the white background. So far the deployment has been successful.
2.8.5. Modify the python code and try
The source code of python is in simulation-rtt-qemu-arm2d/packages/pikascript/main.py, you can open it and see~
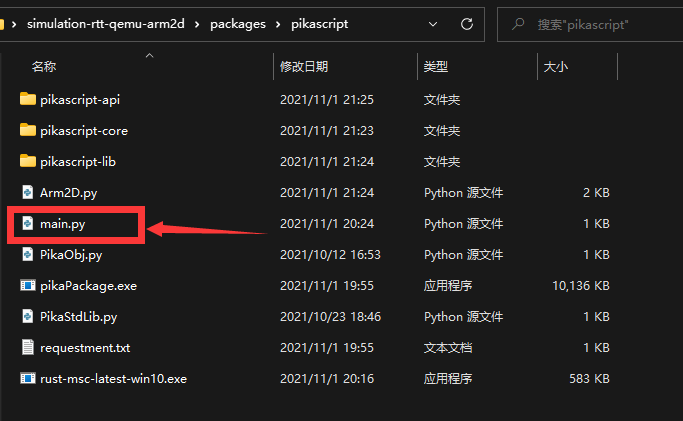
The following is the content of main.py, create a new box object, and then set the color and position, you can try to change the color to ‘white’ or change the coordinates to see, you can also create another screen.elems.b2 try .
import PikaStdLib
import Arm2D

mem = PikaStdLib.MemChecker()

win = Arm2D.Window()
win.init()
win.background.setColor('white')

win.elems.b1 = Arm2D.Box()
win.elems.b1.init()
win.elems.b1.setColor('blue')
win.elems.b1.move(100, 100)
i = 0
x0 = 100
y0 = 100
sizeX0 = 50
sizeY0 = 50
alpha0 = 180
isIncrace = 1
loopTimes = 0

print('hello pikaScript')
print('mem used max:')
mem.max()
print('mem used now:')
mem.now()
while True:
    win.elems.b1.move(x0 + i * 2, y0 + i * 1)
    win.elems.b1.setAlpha(alpha0 - i * 1)
    win.elems.b1.setSize(sizeX0 + i * 2, sizeY0 + i * 1)
    win.update()
    if isIncrace > 0:
        i = i + 1
        if i > 160:
            isIncrace = 0
    if isIncrace < 1:
        i = i - 1
        if i < 0:
            isIncrace = 1
            loopTimes = loopTimes + 1
Remember to precompile after each modification to convert python to .c file in the project

Then compile again, enter the simulation, and you can see the effect. This time I changed the square to red.

2.8.6. Conclusion
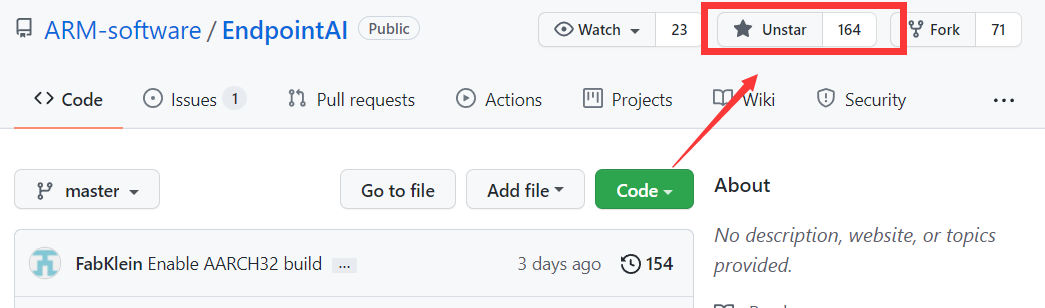
This is the Arm-2D warehouse~ Students who haven’t starred remember to add a star~
https://github.com/ARM-software/Arm-2D
Thanks to liuduanfei for the rtt-Arm2d-qemu simulation project~ Here is the github homepage of liuduanfei